Beamer Presentations: A Tutorial for Beginners (Part 2)—Lists, Columns, Pictures, Descriptions and Tables
Part 1 | Part 2 | Part 3 | Part 4 | Part 5
Author: Josh Cassidy (August 2013)
This five-part series of articles uses a combination of video and textual descriptions to teach the basics of creating a presentation using the LaTeX beamer package. These tutorials were first published on the original ShareLateX blog site during August 2013; consequently, today's editor interface (Overleaf) has changed considerably due to the development of ShareLaTeX and the subsequent merger of ShareLaTeX and Overleaf. However, much of the content is still relevant and teaches you some basic LaTeX—skills and expertise that will apply across all platforms.
In the previous post we looked at getting started with beamer. In this post we're going to look at adding some different types of content into our presentation.
Lists
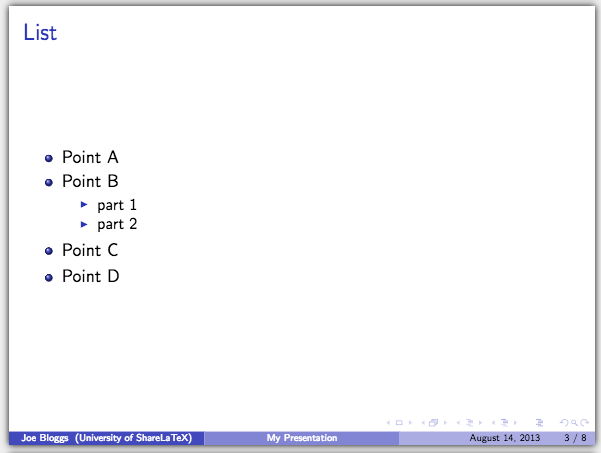
First let's talk about lists. Lists are a common way to present information in presentations and they're very easy to set up. Just like in a normal LaTeX document we can use the itemize and enumerate environments. Let's use the itemize environment to add in some bullet points. In between the \begin{itemize} and \end{itemize} commands we use the \item keyword to separate our list entries. We can also nest lists within other lists. Here's an example:
\begin{frame}
\frametitle{List}
\begin{itemize}
\item Point A
\item Point B
\begin{itemize}
\item part 1
\item part 2
\end{itemize}
\item Point C
\item Point D
\end{itemize}
\end{frame}
And this is what it will look like:
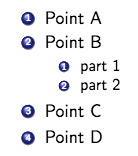
The enumerate environment is similar to the itemize environment except it numbers items:
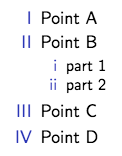
We can change the numbers to Roman numerals by adding a capital 'I' in square brackets at the end of the \begin{enumerate} command.
Or we can use lower-case Roman numerals by using a lower case 'i'; for example:
\begin{enumerate}[I]
\item Point A
\item Point B
\begin{enumerate}[i]
\item part 1
\item part 2
\end{enumerate}
\item Point C
\item Point D
\end{enumerate}
We can even surround the numerals in parenthesis like this:
\begin{enumerate}[(I)]
 ...
\begin{enumerate}[(i)]
 ...

Finally we can also nest an itemize environment inside an enumerate environment or vice versa to produce something like this:

Columns
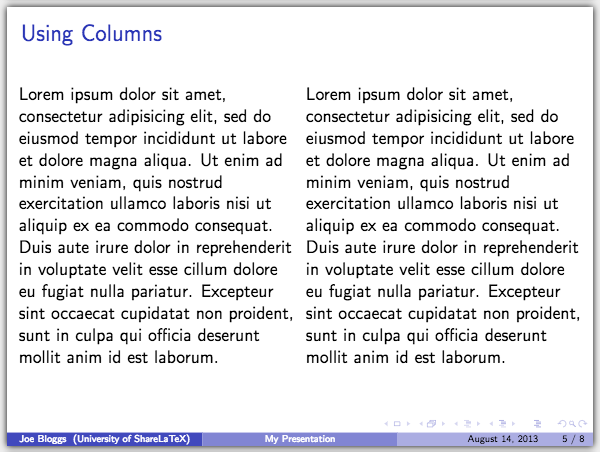
Now let's talk about columns. To organise text into columns we use the columns environment. Then to start a column we use the \column command followed by a width. We'll add in two columns both with a width of half the text width:
\begin{frame}
\frametitle{Using Columns}
\begin{columns}
\column{0.5\textwidth}
<text>
\column{0.5\textwidth}
<text>
\end{columns}
\end{frame}
Pictures
Now if we wanted to replace the second column of text with a picture we could simply replace the text with a \includegraphics command. We don't need to load up the graphicx package because beamer automatically loads it. We'll also add the \centering command in to put the image in the centre of the column:
We can also use the figure environment when adding in images. Here's an example:
\begin{frame}
\frametitle{Pictures}
\begin{figure}
\includegraphics[scale=0.5]{lion}
\caption{lion!!}
\end{figure}
<text>
\end{frame}
Notice I've scaled the image down and given it a caption.
The Description Environment
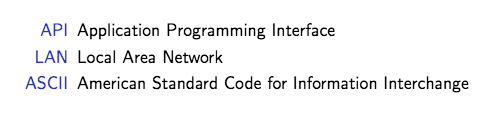
Next we'll look at the description environment which is a type of list environment. Again we use the \item command but this time we pass it an argument in square brackets. The text we enter in the brackets will appear on the slide in a different colour to the following text. This environment is great for listing definitions; for example:
\begin{description}
\item[API] Application Programming Interface
\item[LAN] Local Area Network
\item[ASCII] American Standard Code for Information Interchange
\end{description}
Tables
Finally let's finish by adding a table to a slide. Just like adding a table into a normal document we use the tabular environment to create the actual table and then enclose it in the table environment to give us more options like adding a caption.
\begin{table}
\begin{tabular}{l | c | c | c | c }
Competitor Name & Swim & Cycle & Run & Total \\
\hline \hline
John T & 13:04 & 24:15 & 18:34 & 55:53 \\
Norman P & 8:00 & 22:45 & 23:02 & 53:47\\
Alex K & 14:00 & 28:00 & n/a & n/a\\
Sarah H & 9:22 & 21:10 & 24:03 & 54:35
\end{tabular}
\caption{Triathlon results}
\end{table}

This concludes our first discussion on adding content into our presentation. In the next post we'll look at adding some more advanced content.
All articles in this series
- Part 1: Getting Started
- Part 2: Lists, Columns, Pictures, Descriptions and Tables
- Part 3: Blocks, Code, Hyperlinks and Buttons
- Part 4: Overlay Specifications
- Part 5: Themes and Handouts
Please do keep in touch with us via Facebook, Twitter or via e-mail on our contact us page.