I have a lot of tikz, matlab2tikz or pgfplots figures, so I'm getting a compilation timeout. Can I externalise my figures?
How to externalize TikZ graphics
Use the TikZ library called external to create and store (cache) TikZ drawings as PDF files—a process often referred to as “externalizing”.
Load the library via \usetikzlibrary{external}, then activate externalization using the command \tikzexternalize:
\usetikzlibrary{external}
\tikzexternalize[<options>]
where <options> is an optional list of parameters (key–value pairs) used to configure the external library.
- NOTE: For TikZ externalization to work on Overleaf the
\tikzexternalizecommand must be given in the project’s main.texfile.
Let’s look at a basic example which uses a graphic reproduced from the TikZ documentation:
\documentclass{article}
\usepackage{tikz}
\usetikzlibrary{external}
\tikzexternalize[prefix=tikz/]

\begin{document}
% This TikZ figure will be written to
% a file called 'output-figure0.pdf'
% within the 'tikz' folder
\begin{tikzpicture}

  \node {root}
    child {node {left}}
    child {node {right}
      child {node {child}}
      child {node {child}}
    };

\end{tikzpicture}

\end{document}
To explore this example, you can open it on Overleaf.
The code in our example uses the option prefix=tikz/ with \tikzexternalize:
\tikzexternalize[prefix=tikz/]
The option prefix=tikz/ provides the name of a folder (here, tikz) to be used for caching generated (externalized) figures—you will need to create that folder manually in your project. However, before LaTeX (TikZ code) can write to that folder, it needs to contain a file—any (dummy) file will suffice; for example, you can add an empty text file foo.txt in the tikz folder.
Overleaf treats the externalized TikZ PDF graphics as generated output files, so they will not appear in the project’s visible file list—they are present within the project, just hidden from view—you can view the list of generated files to see them.
The following (brief) video clip summarizes compilation of the example above and demonstrates how to access the list of files generated by TikZ:
Some notes
Externalizing TikZ graphics can be computationally demanding for the underlying TeX engine (pdfTeX, XeTeX, LuaTeX etc.), so the external library provides an option to “optimize” the process. If you enable optimization, TikZ will try to reduce its workload by “ignoring” some complex (expensive), though non-essential (for TikZ), commands—by redefining them (on-the-fly). In addition, some commands from other packages may cause errors in externalization mode; for example, \includepdf from the pdfpages package. To get around that, you will need to “optimize away” such commands:
\tikzexternalize[prefix=tikz/,optimize command away=\includepdf]
Too many complex graphics to externalize!
If your graphics are complex and/or numerous, you will likely encounter an Overleaf compile timeout during initial compilation—as the externalized files are generated. This section will list some possible workarounds to avoid compilation timeouts.
Building incrementally
Building your project incrementally by commenting-out different chunks of your project may help, but remember that all generated files are garbage collected at fixed intervals on the servers. Your project may then fail to compile when you next log in, and you’d have to regenerate them all incrementally again.
Generating the drawings locally
- Note: This section assumes your project uses
\tikzexternalize[prefix=tikz/]to cache generated graphics in a folder calledtikz.
As a workaround, download your Overleaf project and compile it on a local machine to externalize (generate) the graphics files. After compilation is finished, the tikz folder should contain several file types for each generated graphic, including somegraphic.pdf, somegraphic.md5 and somegraphic.dpth. If you upload those files to your Overleaf project’s tikz folder, they will be used during compilation—which should now be pretty fast. Because those files are uploaded and not generated, they won’t be deleted by the server: uploaded files are never garbage-collected.
- Note (graphics file names): Overleaf sets
\jobnametooutput, which affects the name given to externalized (generated) TikZ graphics: by default, the generated graphics files are namedoutput-figureN.EXTwhereNis an integer derived from the sequence/order in which the graphics appear (N=0, 1, 2, ...);EXTis one of the file extensions used by TikZ, includingpdf,md5anddpth(alsolog).
- A caveat: If, after uploading the graphics files, you subsequently make changes to the TikZ code in your project, it may be necessary to delete the corresponding graphics files in the
tikzfolder so that Overleaf can generate and use a new version. Alternatively, you can regenerate the files on your local machine and re-upload them to Overleaf. Remember that you need to replace all the.pdf,.md5and.dpthfiles for that particular TikZ drawing.
Generating the drawings in a separate project
Another option is to create a separate graphics-only project which contains just the TikZ figure(s). Once those figures are finished, you can upload the PDF from that separate project into your main project as follows:
- click on the Upload files icon (
 ) above the file list panel;
 - select From another project;
- from the drop-down list, select the project containing the TikZ drawings;
- select from output files;
- choose output.pdf and (optionally) name the uploaded file.
Once uploaded, you can access individual figures by selecting the appropriate page of the uploaded PDF; for example, via a command such as:
\includegraphics[page=1]{tikzpics.pdf}
The video at the end of this article demonstrates uploading a PDF from a separate project.
How to create a separate graphics project
Use the standalone or preview package to create a separate project containing the TikZ drawings—the output PDFs will contain tightly-cropped pages matching the size of the graphics.
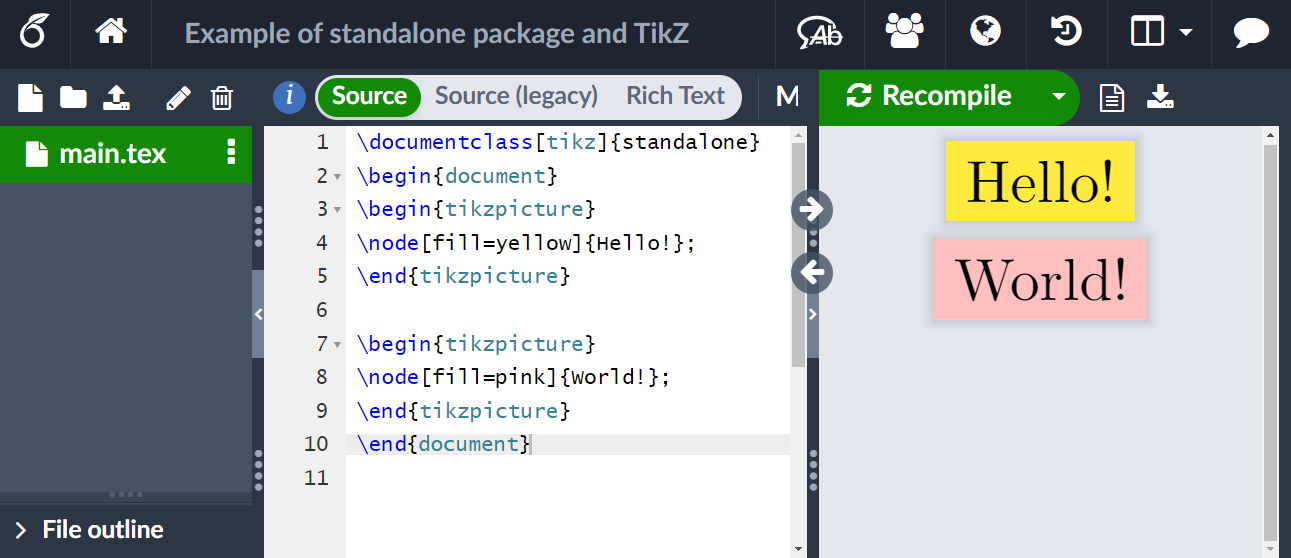
Example: standalone package
Here’s some sample code using the standalone package:
\documentclass[tikz]{standalone}
\begin{document}
\begin{tikzpicture}
\node[fill=yellow]{Hello!};
\end{tikzpicture}

\begin{tikzpicture}
\node[fill=pink]{World!};
\end{tikzpicture}
\end{document}
This example produces the following output:
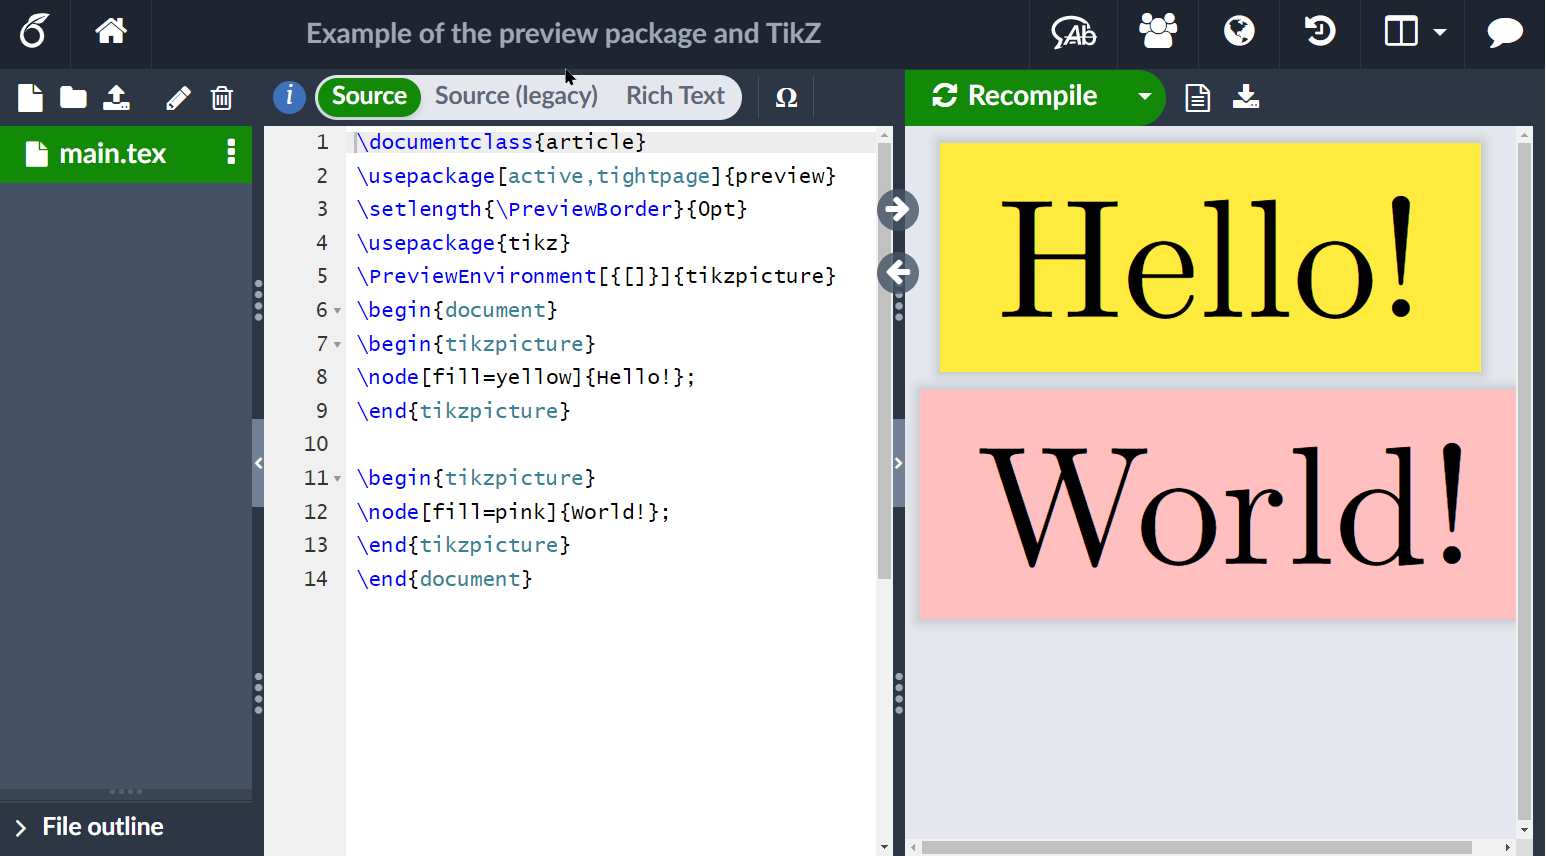
Example: preview package
Here’s some sample code using the preview package:
\documentclass{article}
\usepackage[active,tightpage]{preview}
\setlength{\PreviewBorder}{0pt}
\usepackage{tikz}
\PreviewEnvironment[{[]}]{tikzpicture}
\begin{document}
\begin{tikzpicture}
\node[fill=yellow]{Hello!};
\end{tikzpicture}

\begin{tikzpicture}
\node[fill=pink]{World!};
\end{tikzpicture}
\end{document}
This example produces the following output:
Video demo: uploading files from another Overleaf project
The following video demonstrates how to upload a PDF file (from another Overleaf project) that contains graphics only—here, we use the standalone package to create the PDF containing TikZ-based illustrations.